Introduction
Week 1 (23 February 2018)
1.0 Definition
Penetration testing is a type of security testing that is used to to test the insecurity of an application. The goal of conducting / hiring a penetration tester is to find a security risks or vulneralibilites that might be present in the system.
2.0 Type of Penetration Testing
2.1 Black Box Penetration Testing
In black box penetration testing, tester has no given knowledge about the system, no internal help, no knowledge about network topology and so is the IT personnel that are going to be penetrated.
2.2 White Box Penetration Testing
White box penetration testing is the opposite of black box penetration testing. In white box penetration testing, the tester are well informed about the system and network schema, OS, IP address, source code, etc.
2.3 Grey Box Penetration Testing
Grey box penetration testing is the combination between black & white box penetration testing model. Tester are given partial information or limited information about the details of the system.
3.0 Hacking Cycle
10 Steps of Ethical Hacking
• Target scoping
• Information gathering
• Target discovery
• Enumerating target
• Vulnerability mapping
• Social engineering
• Target exploitation
• Privilege escalation
• Maintaining access
• Documentation and reporting
4.0 Kali Linux
Kali Linux can be downloaded from here.
4.1 Installing Kali in Virtual Machine
Oracle Virtual Box can be downloaded from here.
After download Oracle VB, install it in your computer.
Below is the step by step of to install Kali in Oracle VB.
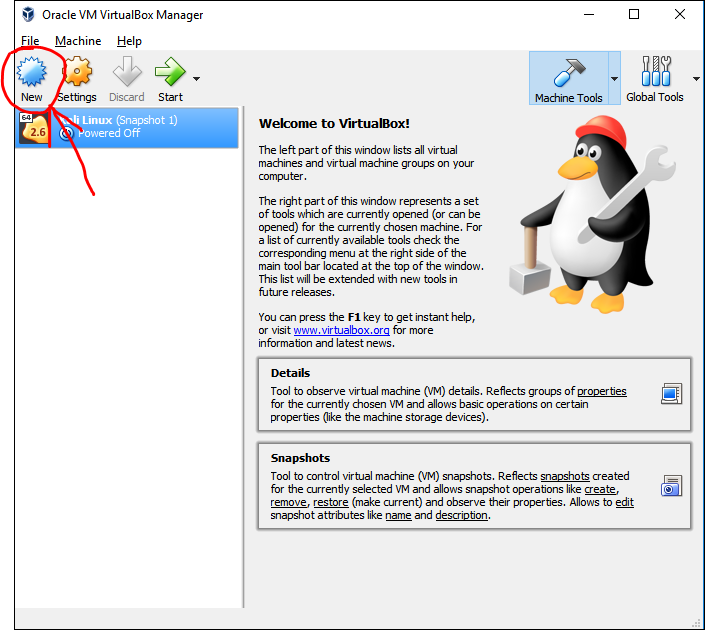
- Create a New Virtual Machine by clicking new button in Oracle VB
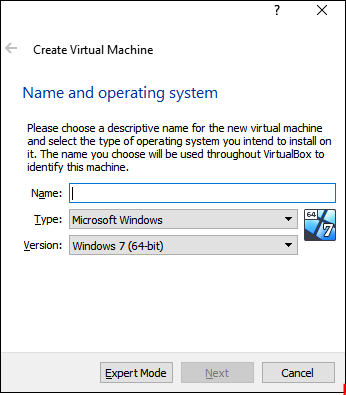
 Create a name for the OS.
In this case, the one we are going to install is Kali Linux, once you type Kali Linux, The Types and Version will automatically changed.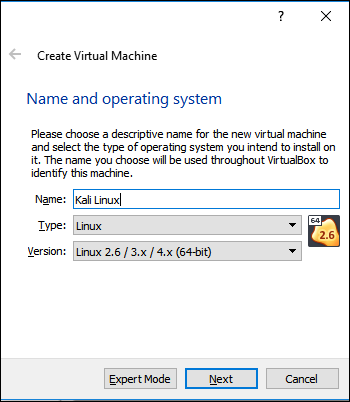
Next is the allocation of Memory Size, the recommended is 1024 MB / 1GB.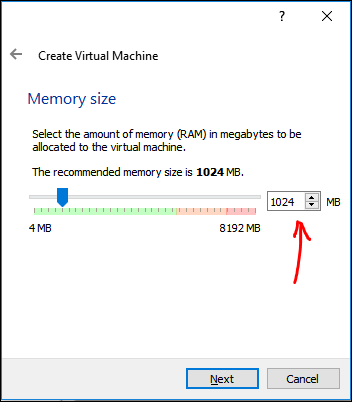
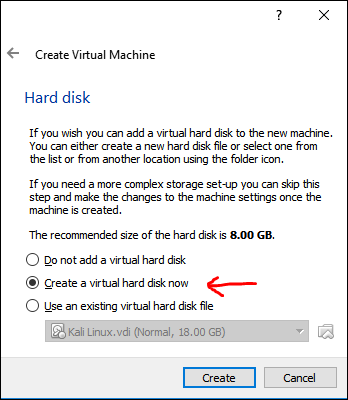
- Create Virtual Hard Disk
Choose VDI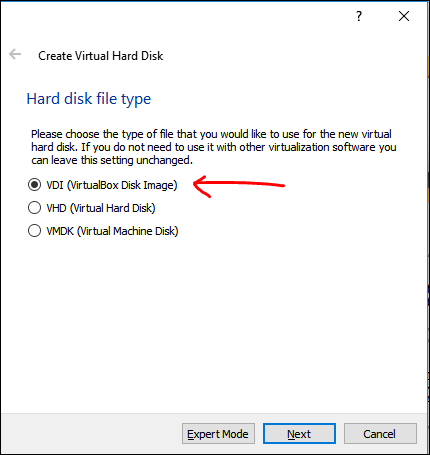
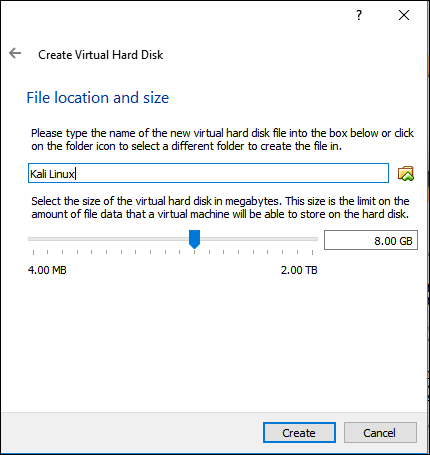
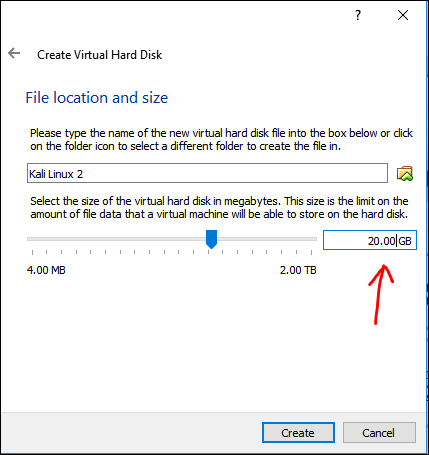
Choose the name of the folder and the size of the allocation memory in your computer, the recommended is 8.00 GB.
 Choose Dynamically allocated, so it does not affect your computer’s performance too much.
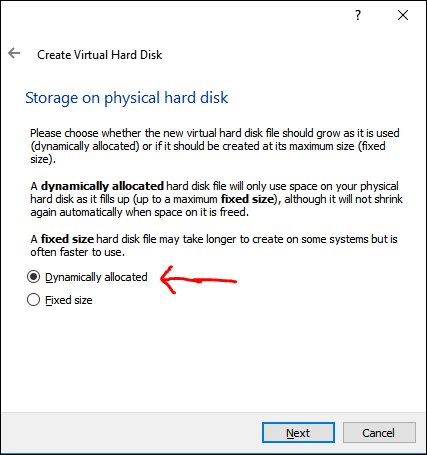
You do not have to worry, since we chose dynamically, not all 20 GB will be used.
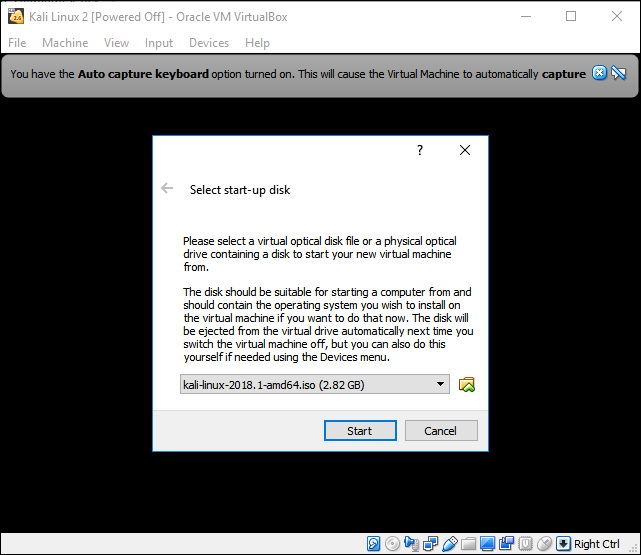
- Installing the Kali Linux. First double click the Kali Linux, you can customize your settings.
 Select / Browse the Kali Linux that you have downloaded in your computer.
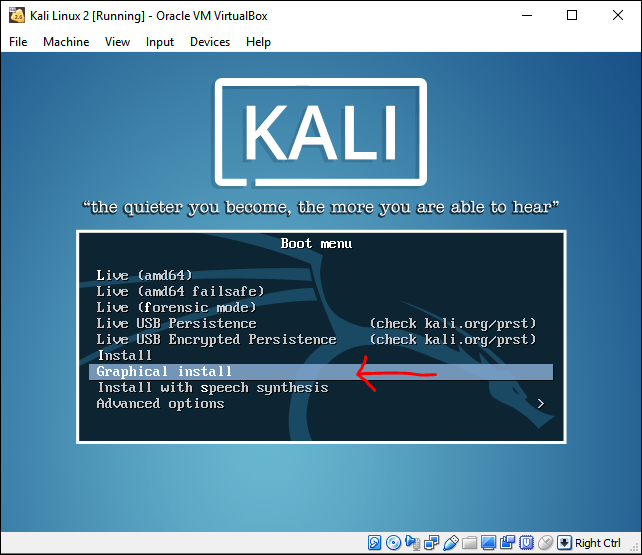
 Choose Graphic Install.
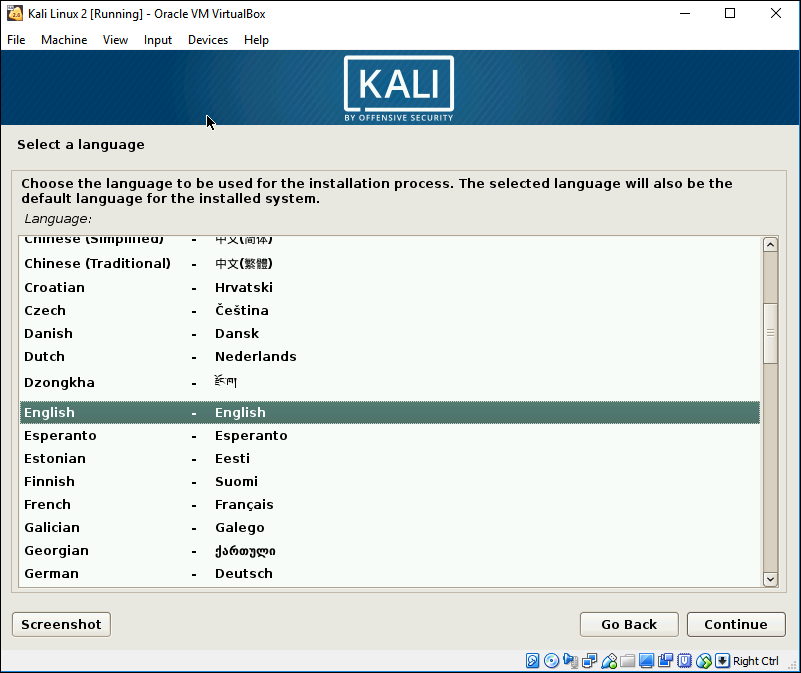
 Choose your language
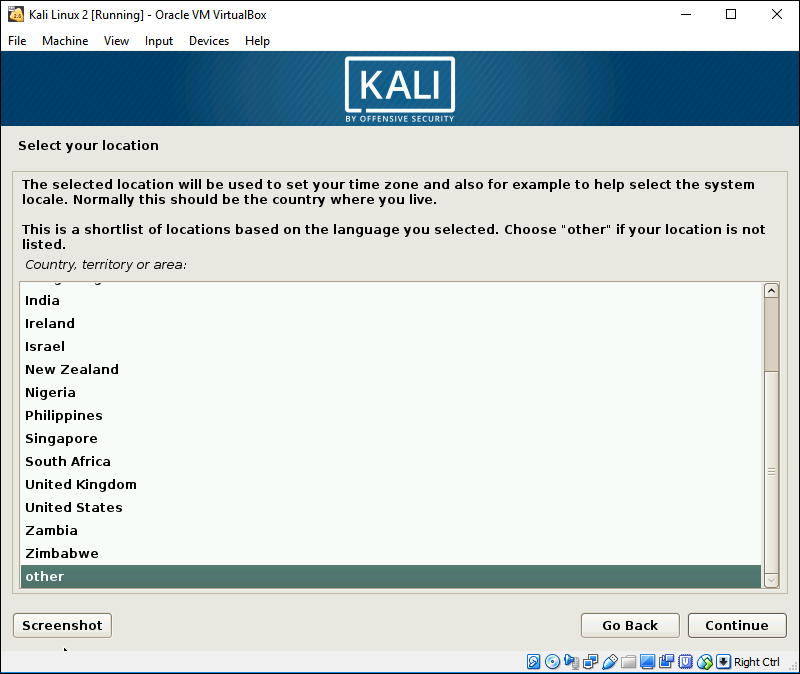
 Since I am living in Indonesia, and it is not in the list, i chose the option other.
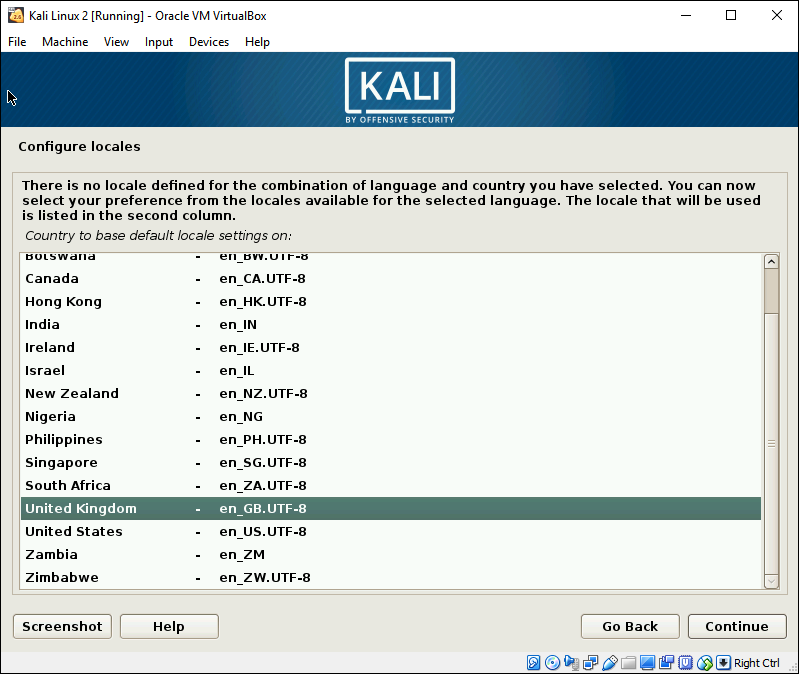
 Choose the default language again.
 Choose the keyboard type.
 Fill Name of your Server Address.
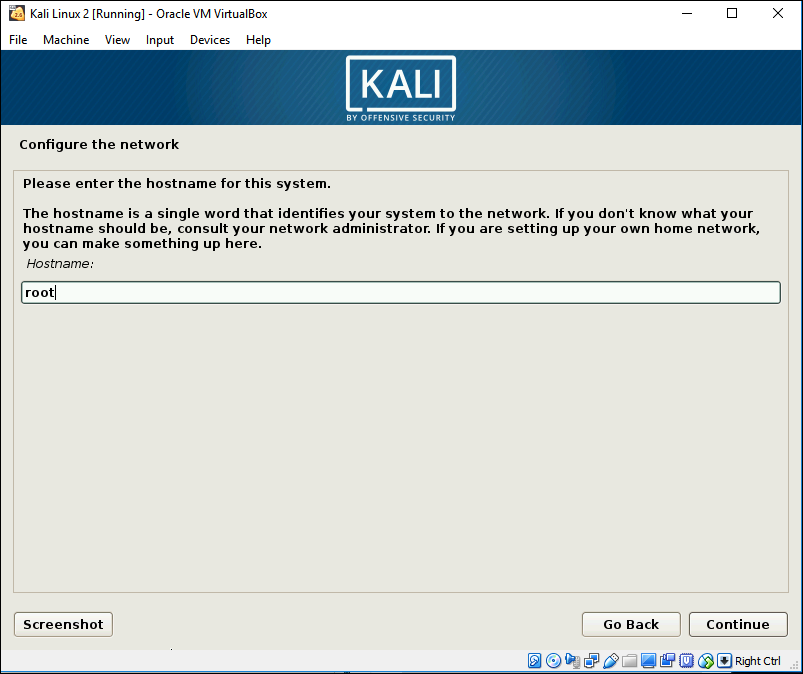
 Hostname is admin name.
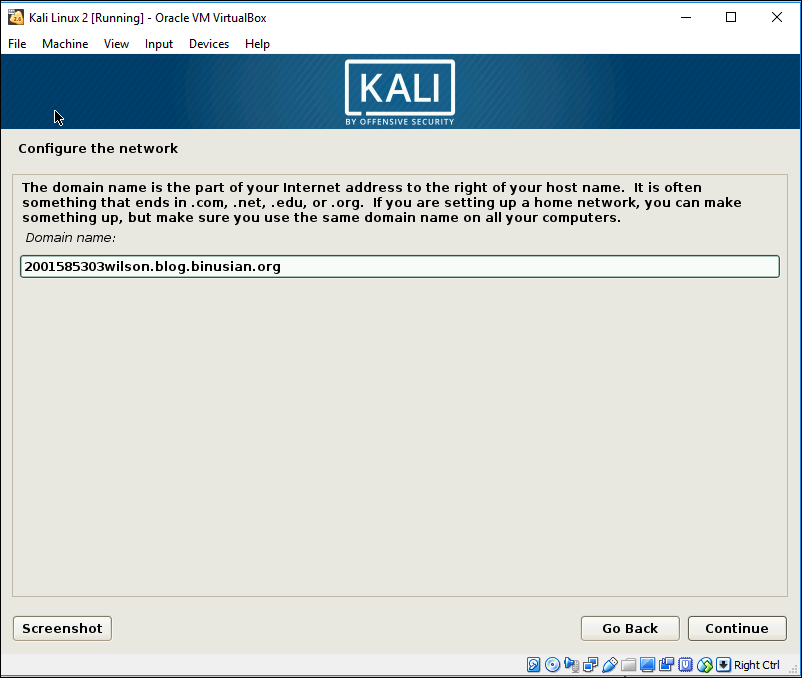
 Choose your domain name, in my case, is my blog url.
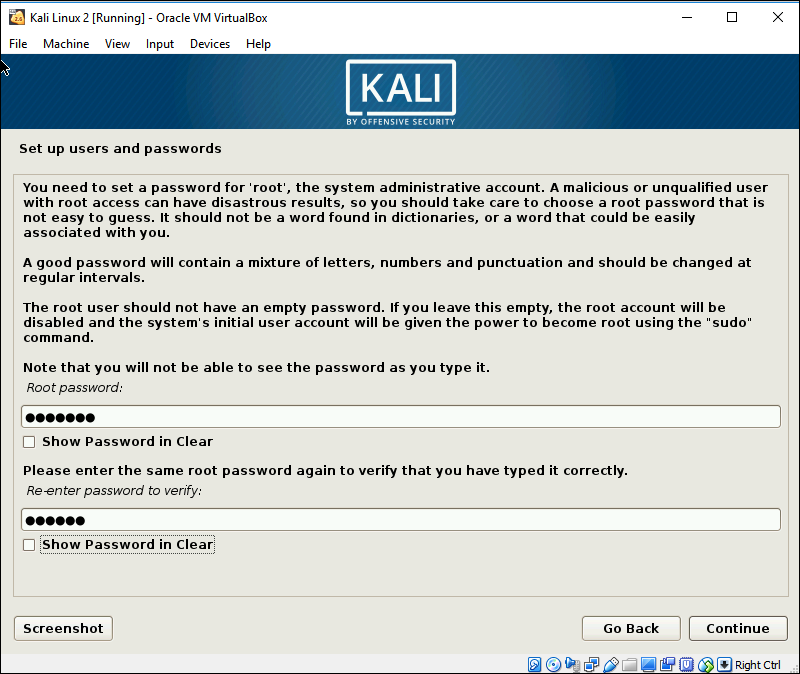
 Set your password, make sure it’s a strong one.
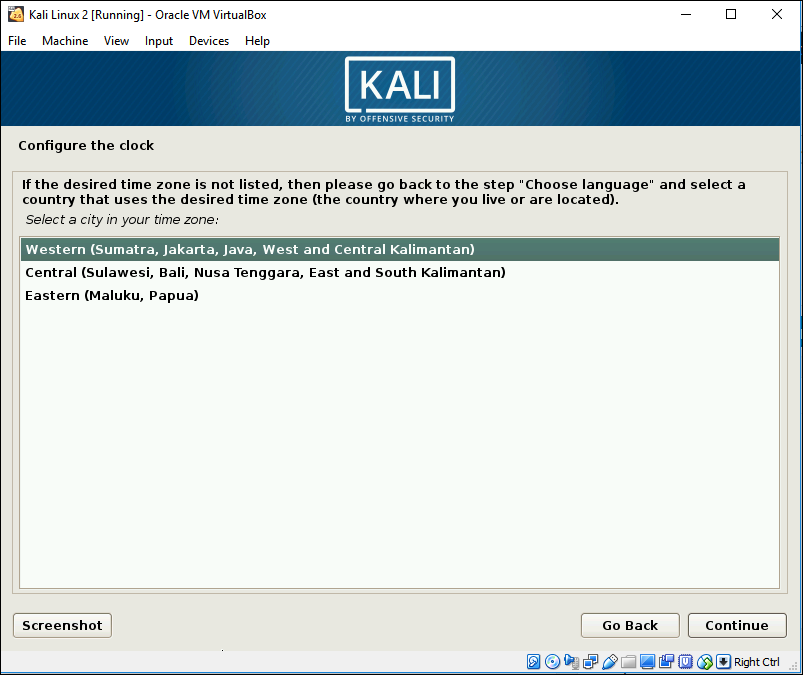
 This just configuration of the time zone.
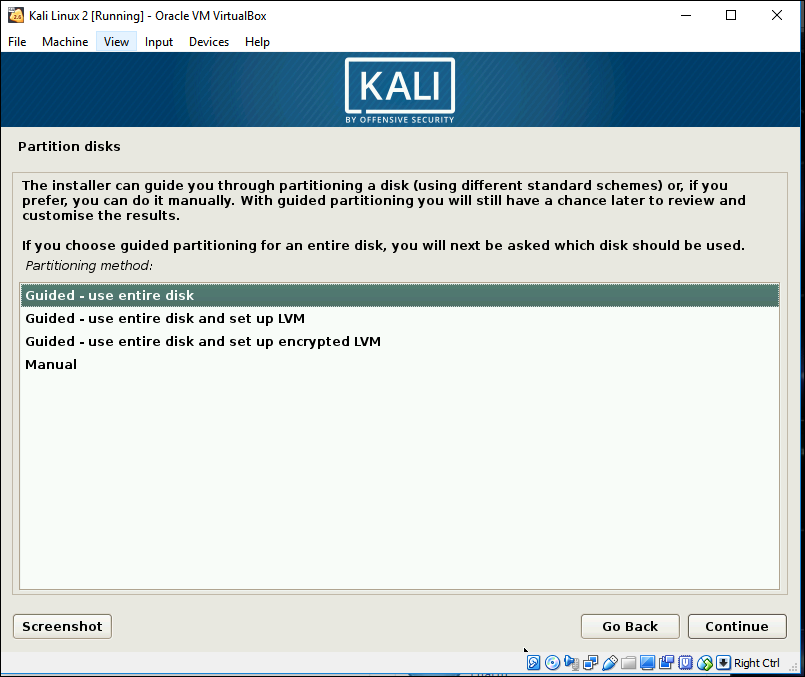
- Disk Partition, choose to use entire disk.
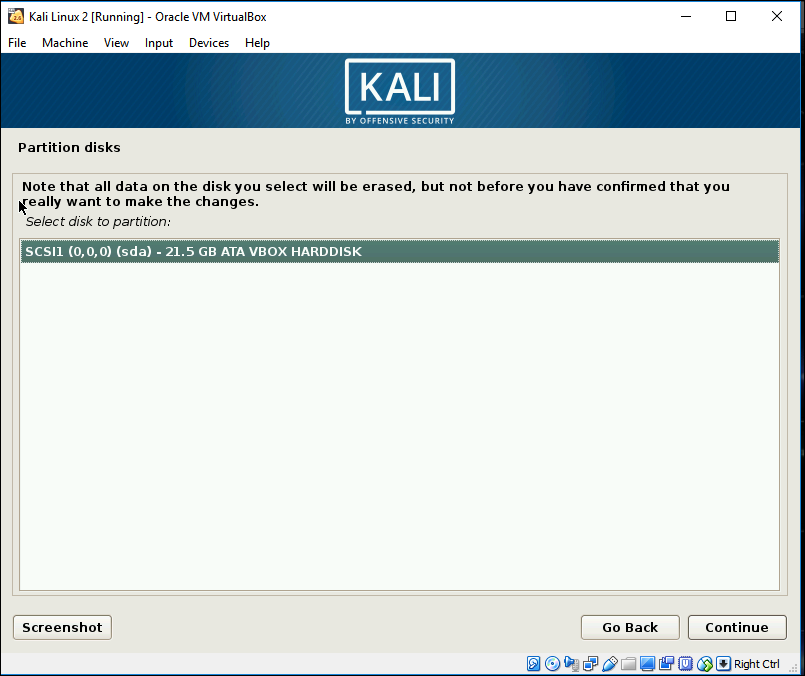
 Select the disk.
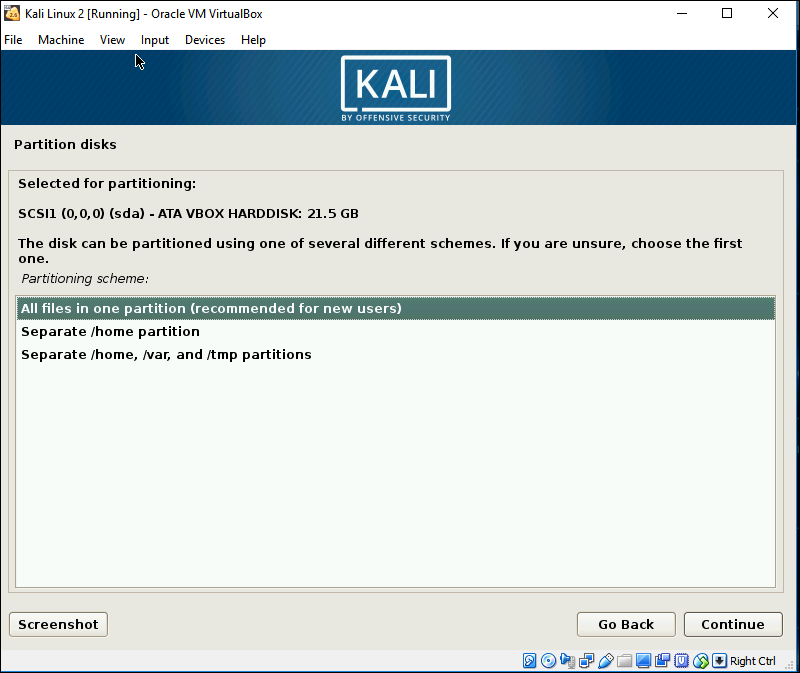
 This is your own configuration, but I’d recommend all files in one partition
 Make sure the partition is what you wanted, and click finish if done.
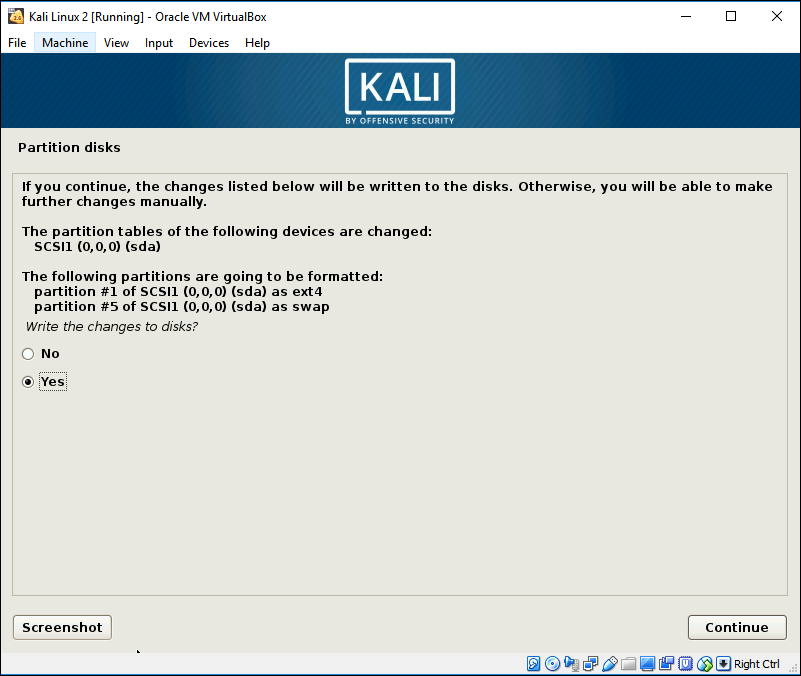
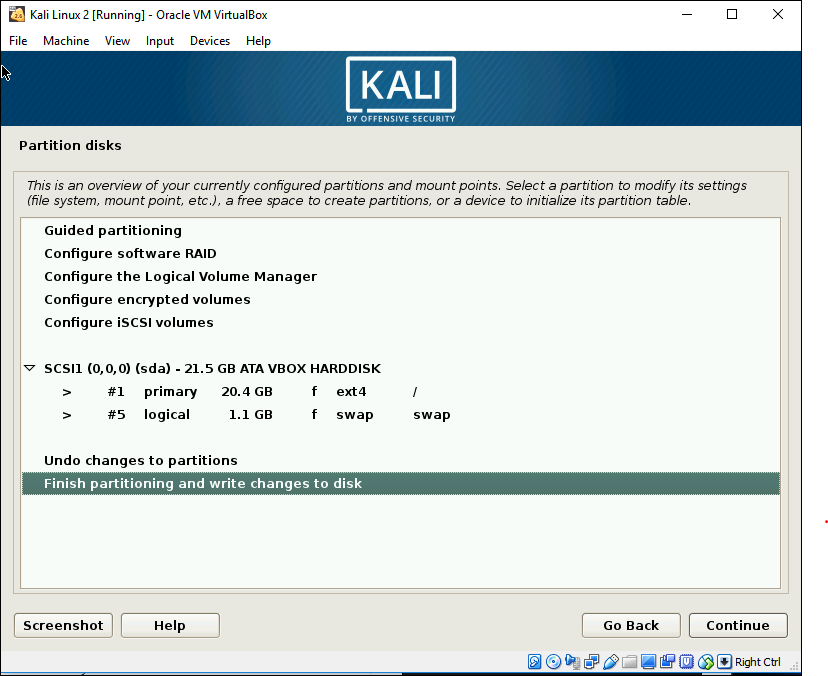 Write the changes to the disks.
- Network Mirror and GRUB.
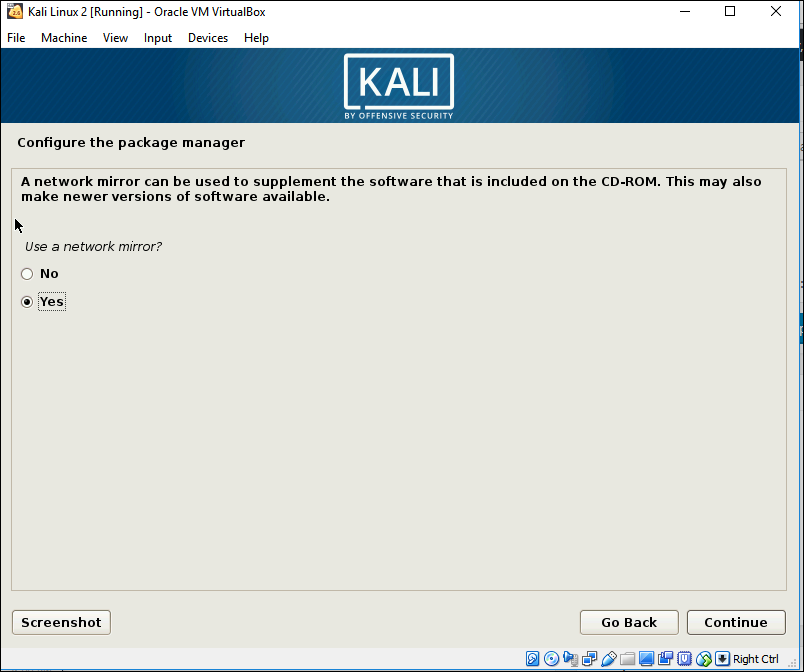
 After the installation of partition, choose yes to use network mirror.
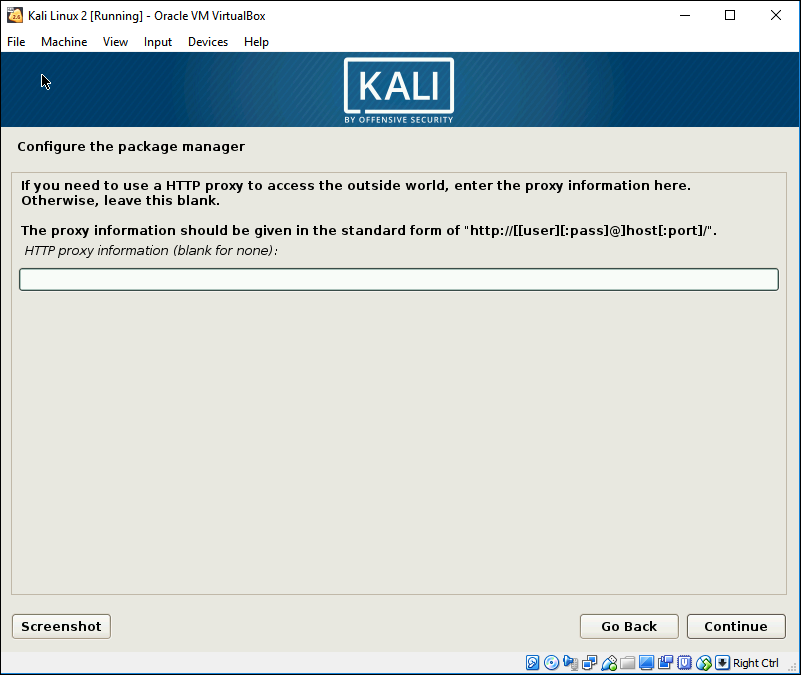
 Leave the HTTP proxy information blank.
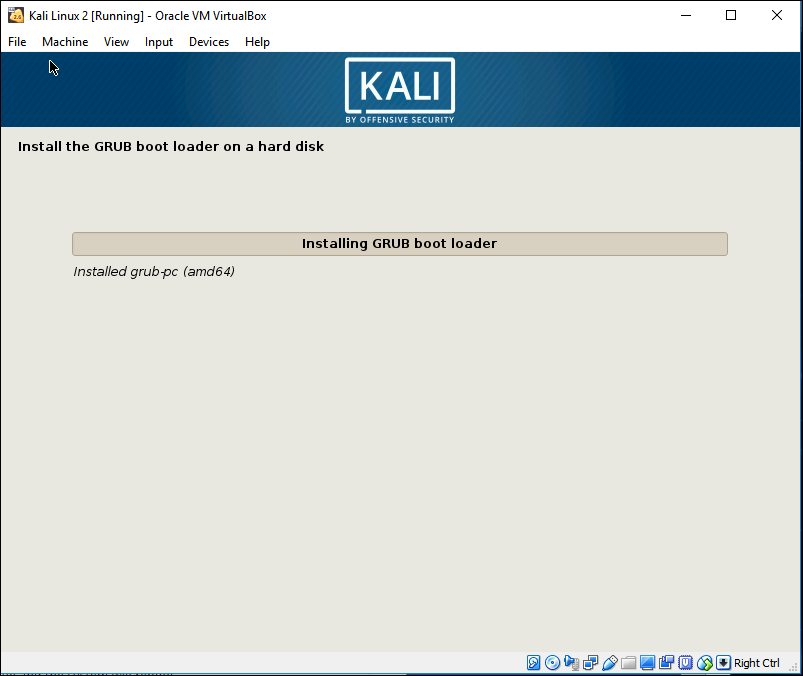
 Install the GRUB.
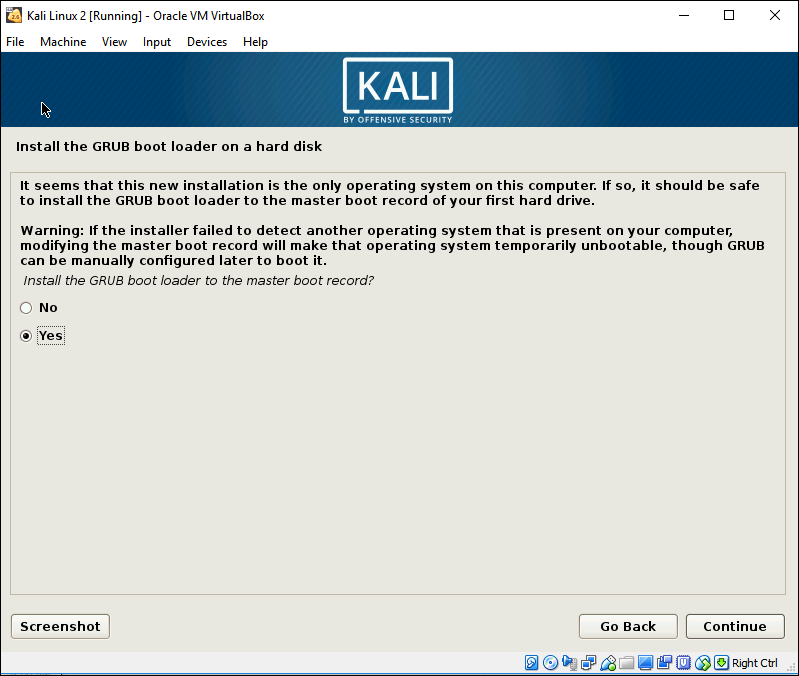
 Install the GRUB boot loader and the master boot record, too.
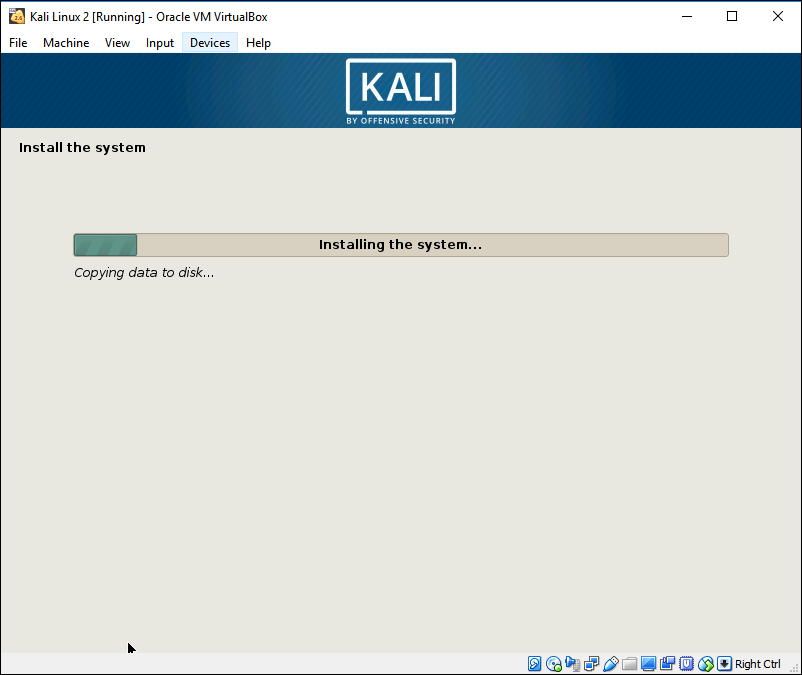
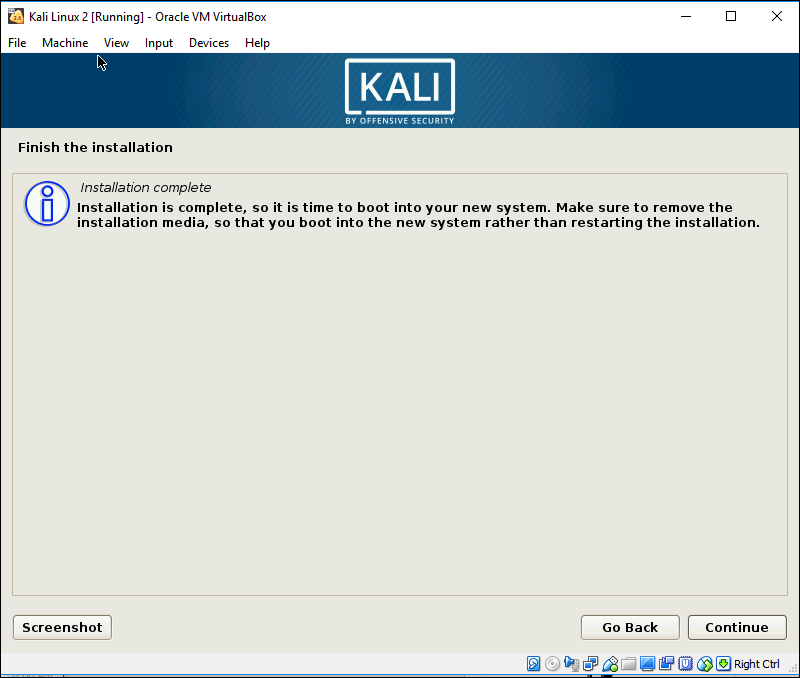 Reboot, and Kali Linux installation is finished.